What is Facebook Event and how Facebook Event works?
Facebook provides a very important resource to its users to let them know about any upcoming occasion on Facebook. This resource is known as Facebook Events and how it works is by linking the calendar dates with the Events that are created on Facebook, so that when the Event is due, the concerned persons are notified.
Facebook Events can be created by anyone on Facebook to invite friends, group members or followers of a page, based on the kind of event that is created. Facebook Events can thus be divided into two categories – one that is open to anyone and the other that is private and is open for chosen few.
Facebook also provides an "RSVP" list about the Event to all the invitees based on their response to the Event. All The responses are categorized and captured on the basis of invitees "attending," "not attending," "may be attending," or "hasn't responded" the event.
So, when an invitee’s response to an Event is RSVP-ed as "attending", the same will be displayed to their friends via news feed, thus notifying about the invitee’s confirmation. Also the invitees are reminded about the Event they have expressed interest in, through notifications, once Event date approaches, so that they don’t miss out on the event.
Because of this unique feature of Facebook Events which let the users share details about an upcoming event or occasion easily to millions of people in a short amount of time, it is imperative for people to use such an useful resource like Facebook Events elsewhere too, such as on their websites. This is where Facebook Access Token is required.
How to get Facebook Access Token to display Facebook Events?
In order to use Event data or any other data from Facebook, Access Token is required. Like for example, in order to use Facebook Page Events data, a page Access Token is required if you want to display high quality images of Event, its description, past Events, location data of Event on map, syncing features etc..
Once you have the Access Token, you can use the Event data, customize it and even embed it on your website directly or through various third party SDKs available online.
However, one important point worth remembering here is that you can get Access Token from Facebook, only for the Facebook page which you have admin rights. That is, you should be the administrator for the Facebook Page, whose Event data you want to call.
To get a Facebook Access Token to display Facebook Events, simply follow the below steps-
Create a Facebook Developer Account-
The first step to get Facebook Access Token is to create a Facebook Developer account. Facebook only allows individuals to register as Developers.
- To get started, go to and click on ‘Log In’ button in the top right corner. You will be directed to a new page. Here you can login through your personal Facebook account. In case you don’t have a Facebook account, you can create one by clicking on ‘Create New Account’ button.
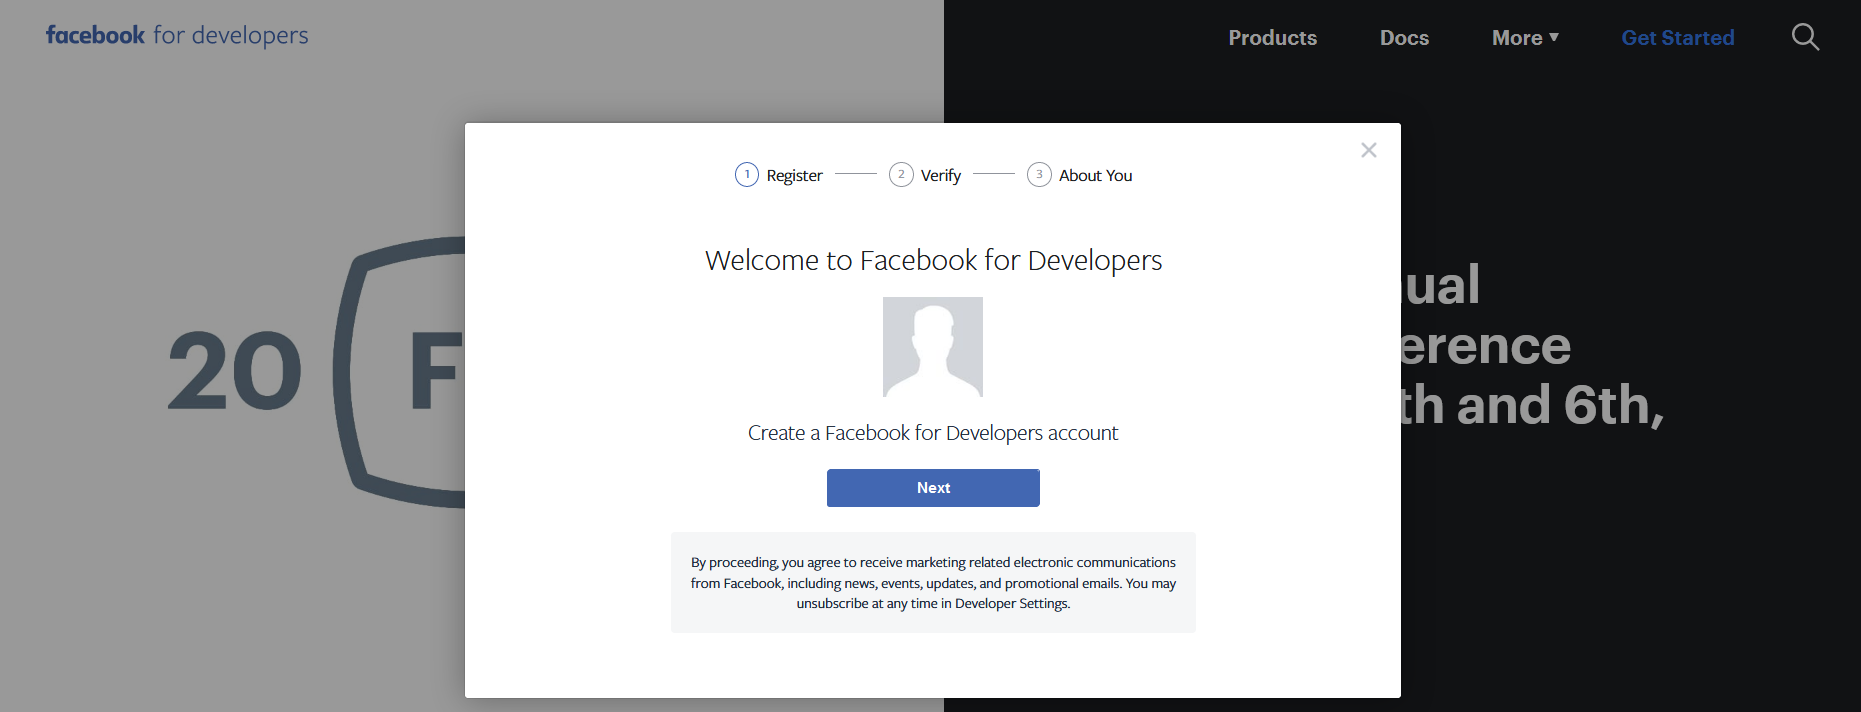
- After entering your credentials, you would be prompted to accept the Facebook Policy terms. Select ‘Yes’ and you would be redirected to the Facebook developer registration page. Click ‘Next’ to get started with the registration process.
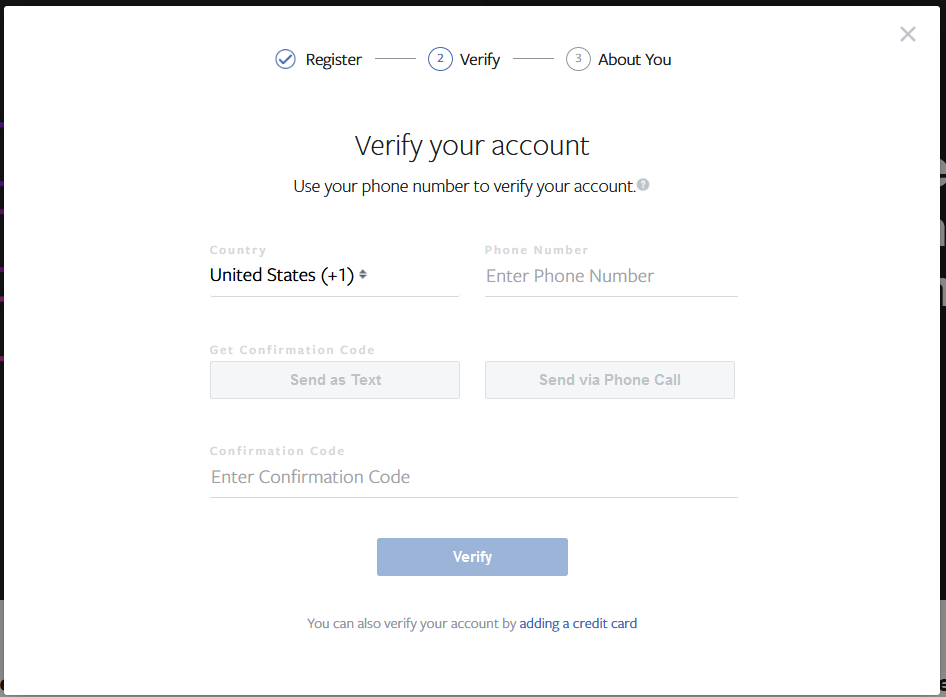
- On the next prompt, select your ‘Country’ and enter ‘Phone Number’ to get confirmation code, required to activate your account. Confirmation codes are automatically generated and you can get them via text message or through phone call.
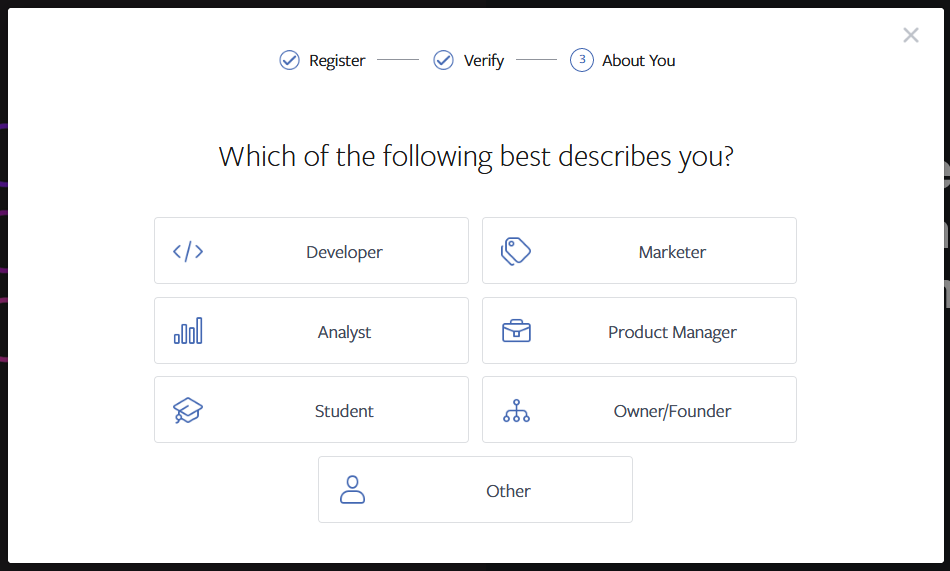
- Once you have received the confirmation code sent by Facebook, enter it in the box and click on ‘Verify’ button. You would be taken to the next part step of the registration process, where you have to confirm about yourself.
- Once you have completed each step of the registration process successfully, you would get confirmation from Facebook that you now registered as a Facebook Developer. You can now integrate Facebook data to your app or website.
Creating a Facebook based App -
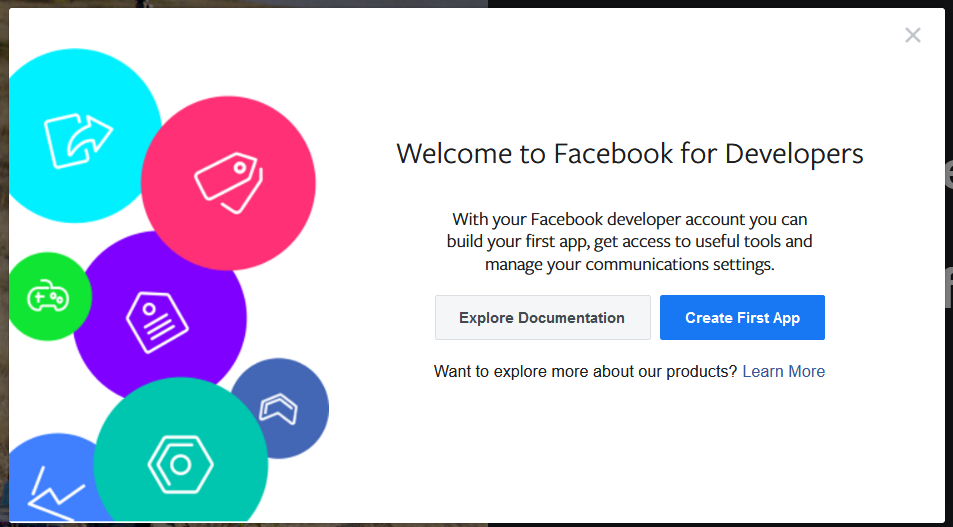
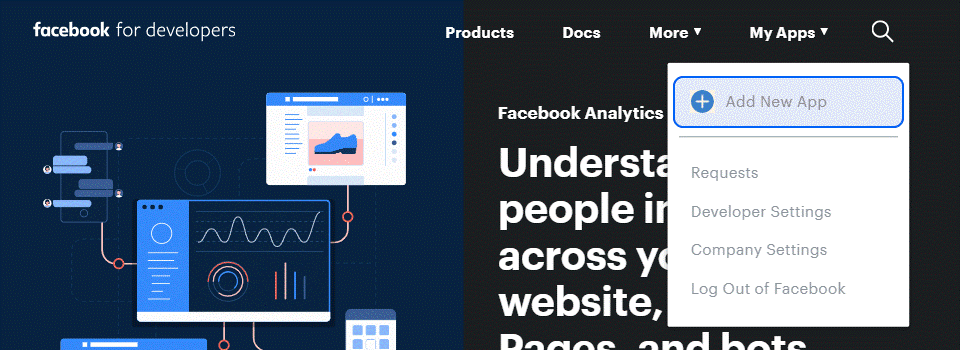
- You can click on "Create First App" to get started immediately or go to ‘My Apps’ and then click on Add New App.
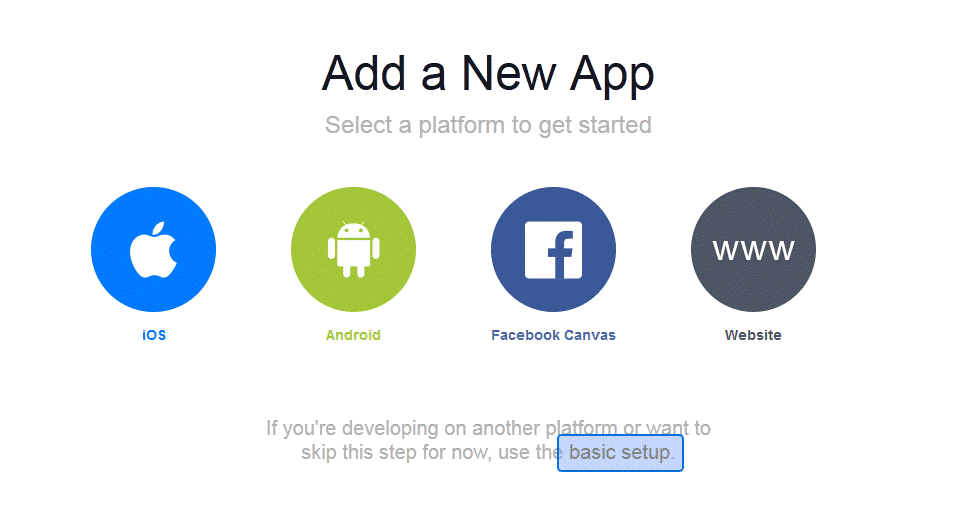
- If you already have an existing app, this page would not appear. Instead you would be redirected to your app page. If adding a new app, below window will appear. Click on basic setup to go through the process of adding new app.
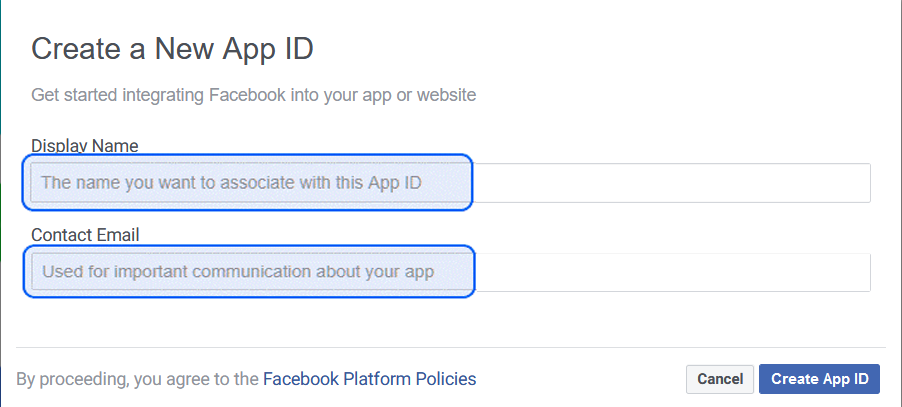
- Next, on the ‘Create a New App ID’ page, enter a ‘Display Name’ for your app along with your email id under ‘Contact Email’ and click on ‘Create App ID’.
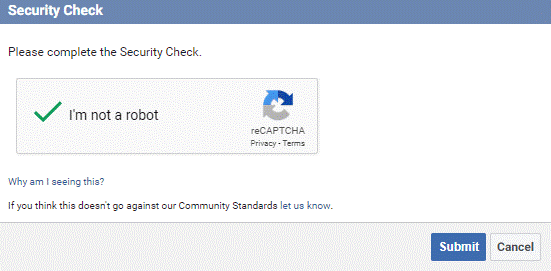
- Complete the Security Check and click on ‘Submit’ button, to complete the app setup process. It is Important that you leave the app in the Development mode. Do not make the app Live yet.
Getting a Page Access Token-
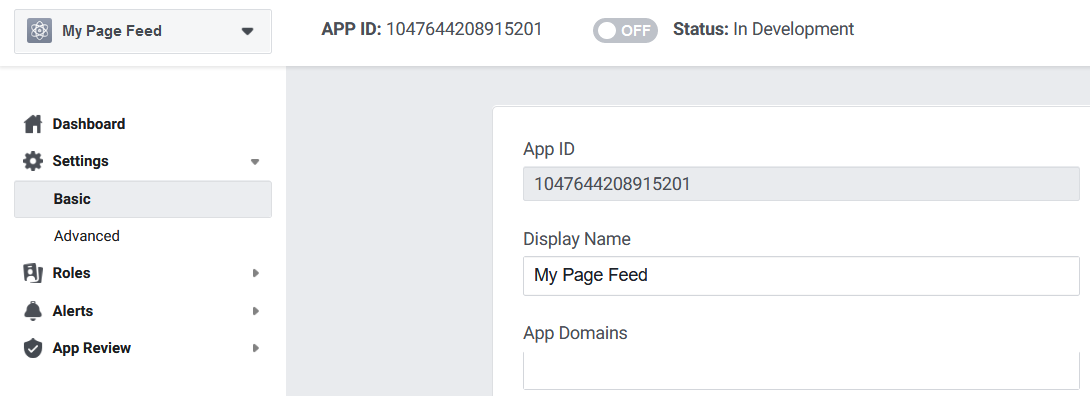
- As iterated above, make sure that your app is not ‘Live’ and still in “Development mode”. Navigate to Settings > Basic in the Settings menu to retrieve your app information.
- Remember to Copy your App ID and App Secret (click on ‘show’ to unmask the App Secret before copying it) and keep it safely with you. You App ID and App Secret is very important for all app related updates.
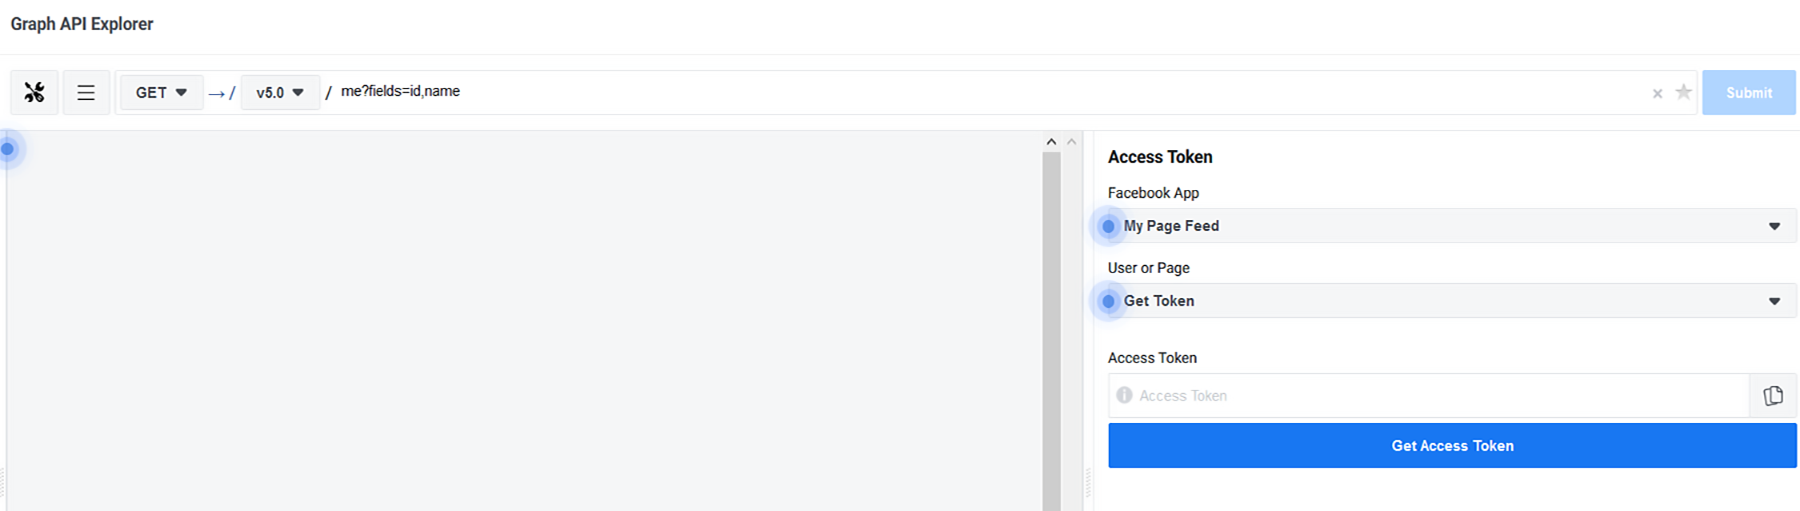
- Navigate to /tools/explorer/ and search for the app you had just created, underFacebook App drop-down list as show below. You can also switch back to the classic mode by clicking here
- Once you have selected the App, click on the dropdown menu under ‘User or Page’ and select Get Page Access Token.
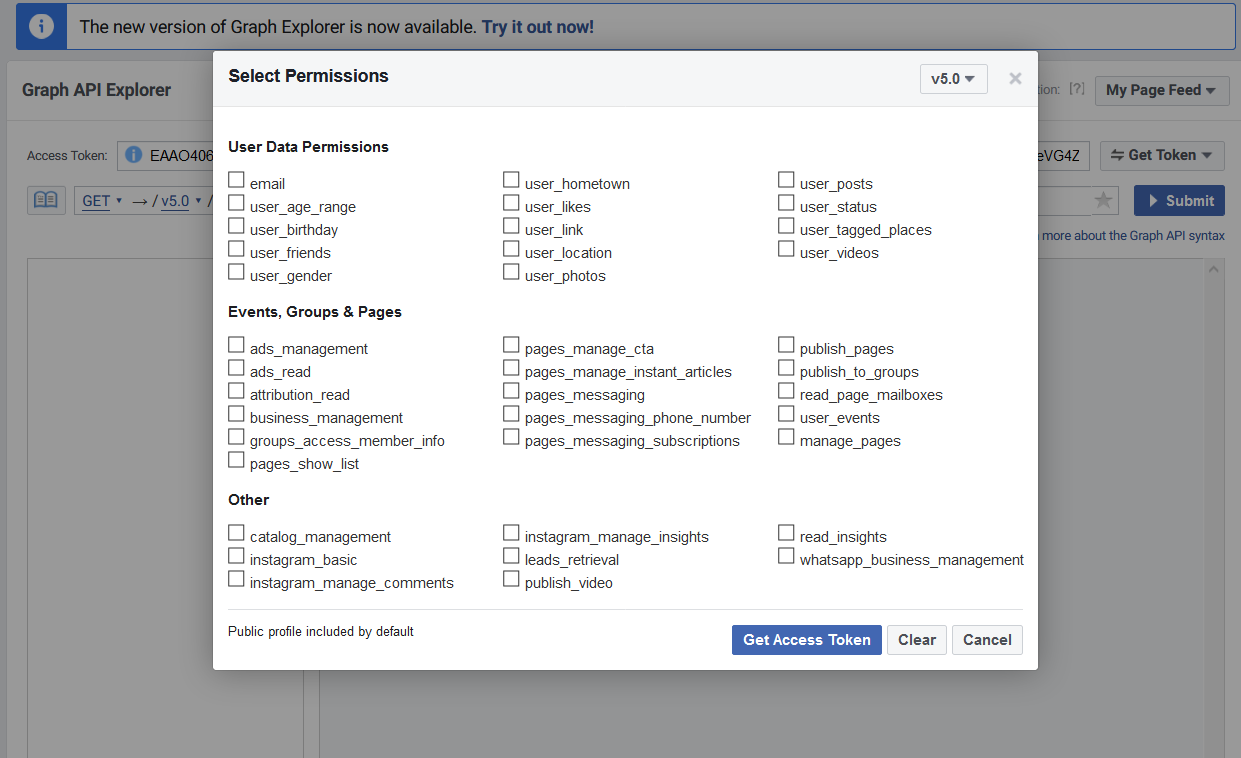
- Remember, you can to select permissions, for the kind of User Data, Events, Groups & Pages Data or any other data you want to access.
- List of permissions in the current mode

and permission matrix in the classic mode
- Once you have Page Access Token, click on the continue button to activate your app. Since your app is in development mode, you can ignore the prompt which asks for Submit for Login Review.
- Next you would have to select any one Facebook page from the list, from which you want to display Events data. Remember, you have to select only one page from the list.

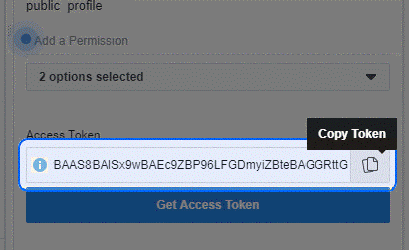

Go through the remaining steps. Once completed, you would be provided with a temporary Access Token (it will last for 1 hour approximately).
Copy this token value and visit plugin’s Settings page and paste it in the field labeled "Facebook Access Token". You are good to go.
Fixing Errors
If you are getting any errors regarding approval, to troubleshoot you can do the following things;
- Check if you are the admin of the Facebook page, whose content you are trying to display.
- Check if the app is still in development mode and is not Live.
- Check if the app you have selected is for the Facebook page you are trying to get access.
Further, you can also read documentation at https://developers.facebook.com/docs/apps/review to understand the process of the same.
Also, it is worth noting that if using any third party "Custom Feed" plugin, the steps may differ, unless you want to display Events. But if you want to display Events from Facebook page, above steps can easily get you an Access Token.
Renewing an Access Token
Since above steps can get you only a temporary Facebook Access Token, which will keep on expiring after certain time period, it is important to extend an existing token, so that it never expires.
Further reading on the process to extend the validity of the Access Token, check How to Create long lived Facebook Access Token that never expire?
Related Articles
Facebook Post disappeared from my Timeline.How to Login to your Facebook Account from Another Computer?
How to Log into Facebook with a New Phone Number?
How to Open a New Facebook Account?
How to Create a Facebook Account?
How to Create long lived Facebook Access Token that never expire?
How to Find Someone's Email ID on Facebook?
What is Facebook Numeric ID?
How to Hide or Unhide your Post on Facebook?
How to Make a Facebook Post Shareable after it's already posted?